How to Expand & Stretch your art!
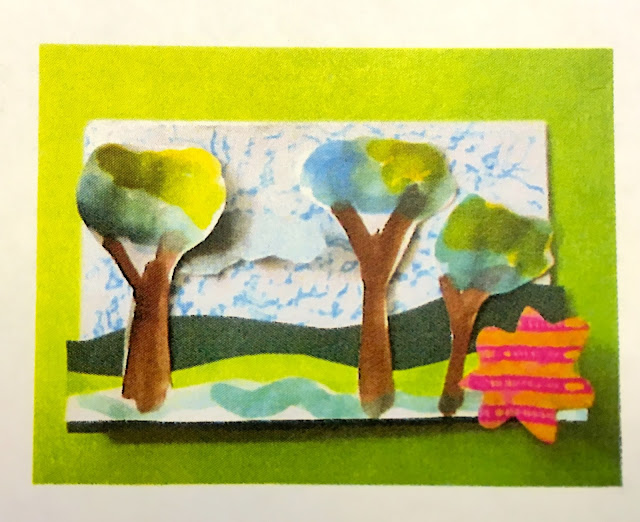
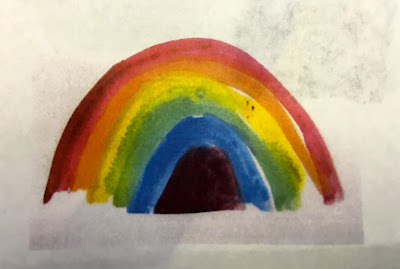
Look at these two paintings. Do they look complete to you? Are they interesting?
Sometimes we add to our art to make it look more interesting, complete or exciting!
*Cut out the image that you painted and glue it to a piece of colored or textured paper.

Let's look at that rainbow again....

*cover all the white background...what will you use? Paint? Texture Plates? Chalk? Crayons?
Key Stage One:
-Overlap shapes-To create depth put large objects in the front (low on your paper) and put small objects in the background (high up on your paper)
Key Stage two:
-Add lengths of paper to create a middle ground and background. Remember that you can create an illusion of depth by using darker color in the background.-Use a texture plate to create texture on your papers, use more than one to create new colors.
-Maryellen Picker
As a TAB artist, you are encouraged to STRETCH your artwork!
Here are a few checklists to help you.
(image credit: paige byrne)
(image credit: google)
Can I take my art home?
The answer to these questions will determine if you can take your art home. If you answer yes to these questions, then yes, please take your work home. If you answer no, then your work is not quite ready to go home.
Did you work on it for many weeks?
Did you go to more than one studio?
Did you do your best? Do you feel proud?
Is your work neat, complete and finished?
Did you reflect on your work?
Did you get a teacher check on your plan sheet?


This comment has been removed by a blog administrator.
ReplyDelete