Monday, May 21, 2018

Summer ART


How to be ARTSY this summer


It doesn't take a lot of planning or setup to be creative. You can put a little or a lot of effort into doing or creating something artistic.  Hopefully this list will inspire you and your family to get ARTSY this summer.

Go see art...places to see art in STL.

City Garden downtown

Laumeir Sculpture Garden-explore the hiking trails

Contemporary Art Museum St. Louis
Amy Sherald who was featured in a mini-lesson and painted First Lady Michelle Obama's portrait for the National Portrait Gallery has a show at CAM right now! 

St. Louis Art Museum--the new wing is my favorite!  

St. Louis Grafitti Wall

Get Messy--Art activities

Ask a grown up to help you with these next projects...or google the directions.


Bust out the Sidewalk Chalk--try blending colors, using paint brushes and water to create a new look.

Make a book--fold, staple, draw, collage, write.
 Make it a pop-up book or accordian folded pages.
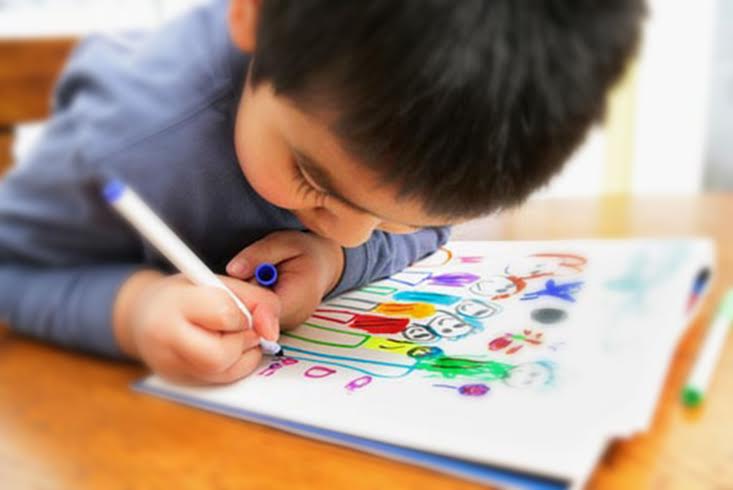
Draw, Draw, Draw

Act it out--write a play, design the costumes and scenery.  Perform for your family.

Make a card--write a note to a friend or relative that lives far away...get a stamp and mail it! Be sure they
know to write you back.


friendship bracelet--choose colorful string and beads 

make stop motion movie
Make a cut paper mosaic


en plein air in the park or your yard --paint or draw outdoors.

paint with Q tips

Make your lunch into ART

Try Painting with BUBBLES


or even SHAVING CREAM


Paint Kindness Rocks and place them where someone can find your inspirational message.

Read a book about art--books about an artist's life or an art how-to book.


FREE
Free art supplies everyone has in their home are recyclables. families can save these items in order to create over the summer.

  • Shoe boxes
  • Paper towel rolls
  • Egg cartons
  • Cereal boxes
  • Toilet paper rolls
  • Kleenex boxes
  • Yogurt containers
Ask mom or dad...or a grown up about signing up for an art camp or workshop!
Michael's Craft Store
Yucando
Joann's 
COCA
Craft Alliance
Krueger Pottery

Have a fantastic summer...see you in August...don't forget to file away all these art experiences in your creativity bank account.

Tuesday, May 1, 2018

Monday, April 23, 2018

Look Here!

Focal Point

Focal points refer to the areas of the artwork that demand the viewer's attention.


"Creating good artistic composition takes knowledge of how your artwork will be viewed.  Understanding how your audience will view your artwork will help you to communicate more effectively through your artwork. 
Creating focal points in your artwork is one way to be in control of how your artwork is viewed."


We've viewed the work Christina's World by Andrew Wyeth.  
What is the focal point in this painting?  
What did the artist do to make us NOTICE Christina?


A focal point is the area of emphasis around which the rest of a painting is centered and which pulls the viewer’s eye into the painting.


Artists have several ways to create a focal point or center of interest.  Let's look at some strategies.

Contrast
Contrast is simply defined as difference.  Difference between art elements like colorvalue, size, texture, and so on can intensify the elements used


Isolation
Whenever one object or element is separated from a group it becomes isolated and in turn, becomes a focal point.


Placement
Objects that are placed in the center of the picture plane or near center, will naturally become a focal point.


Convergence
to use implied lines to direct a viewer's eye to an object or element. 


The Unusual
to introduce an object or element that is unusual to the scene. 


Sometimes artist combine more than one method to create a focal point

Artwork with NO focal point


What will be the focal point of your art?
How will you create a point of interest in your work?


sources:
http://emptyeasel.com/2008/11/11/the-focal-point-debate-should-every-painting-have-a-focal-point/

http://thevirtualinstructor.com/how-to-create-focal-points.html

Wednesday, April 4, 2018

Wonderful Weaving (2nd - 5th grade)


weave
wēv/

Weaving is a method of textile production in which two distinct sets of yarns or threads are interlaced at right angles to form a fabric or cloth.

(there's a dragon in my art room)

Preparing your Loom:

Write your name on the loom!

Warping your Loom.  These are the strings that you will wrap around your loom and will go over and under as you weave.
(cassie stevens)
Make a cut in the center the "teeth" of the loom.  Start at the top corner, tape the warp string in place tape just under the notch.   Wrap string straight down and around the loom.  Alternate between the valley and between the cut notches.  Wrap the front and back of the loom for a pouch.  Wrap the front only for a flat decorative weaving.  
(cassie stevens)


do not cut until you are certain you have not missed any notches.  If you missed a notch, unwrap back to the missed spot and re-warp your loom.


Tape the cut string as close to the notch at possible.


Using a tapestry needle, go over and under the weft strings.  The yarn going over and under is called the WEFT.  

Pull through the excess yarn and leave a tail.  Flip over your loom and repeat the process. The yarn going across your loom, theweft yarn, will go over the yarn you went under the last row.

With your finger tips like a "comb", push down your weft/weaving after each row.


Incorrect Weaving                                                         Correct Weaving      (Cassie Stephens)

*See Ms. Williams to help you remove your weaving from the loom or to make a flap.


(paintbrush rocket*)


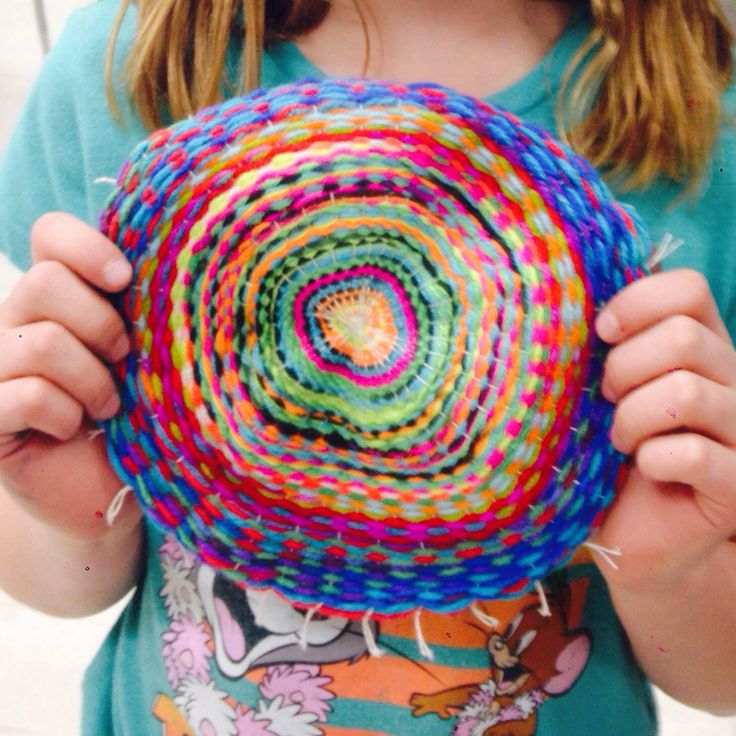
Extension:  Circle Weaving